Enhancing your skills in capturing captivating portraits can be greatly influenced by understanding and mastering various lighting techniques. The use of lighting in portraits is not just about illuminating your subject; it also involves creating mood, depth, and visual interest. Below are some effective lighting strategies to help you create stunning portraits.
Natural Light: Embracing the Sun
One of the most accessible and beautiful sources to illuminate your subjects is natural light. The soft, diffused light during the golden hour—shortly after sunrise or before sunset—provides a flattering glow to skin tones and enhances textures without harsh shadows. When using natural light indoors, position your subject near a window to leverage the soft, directional light, and use reflectors to bounce light back onto your subject and fill in shadows.
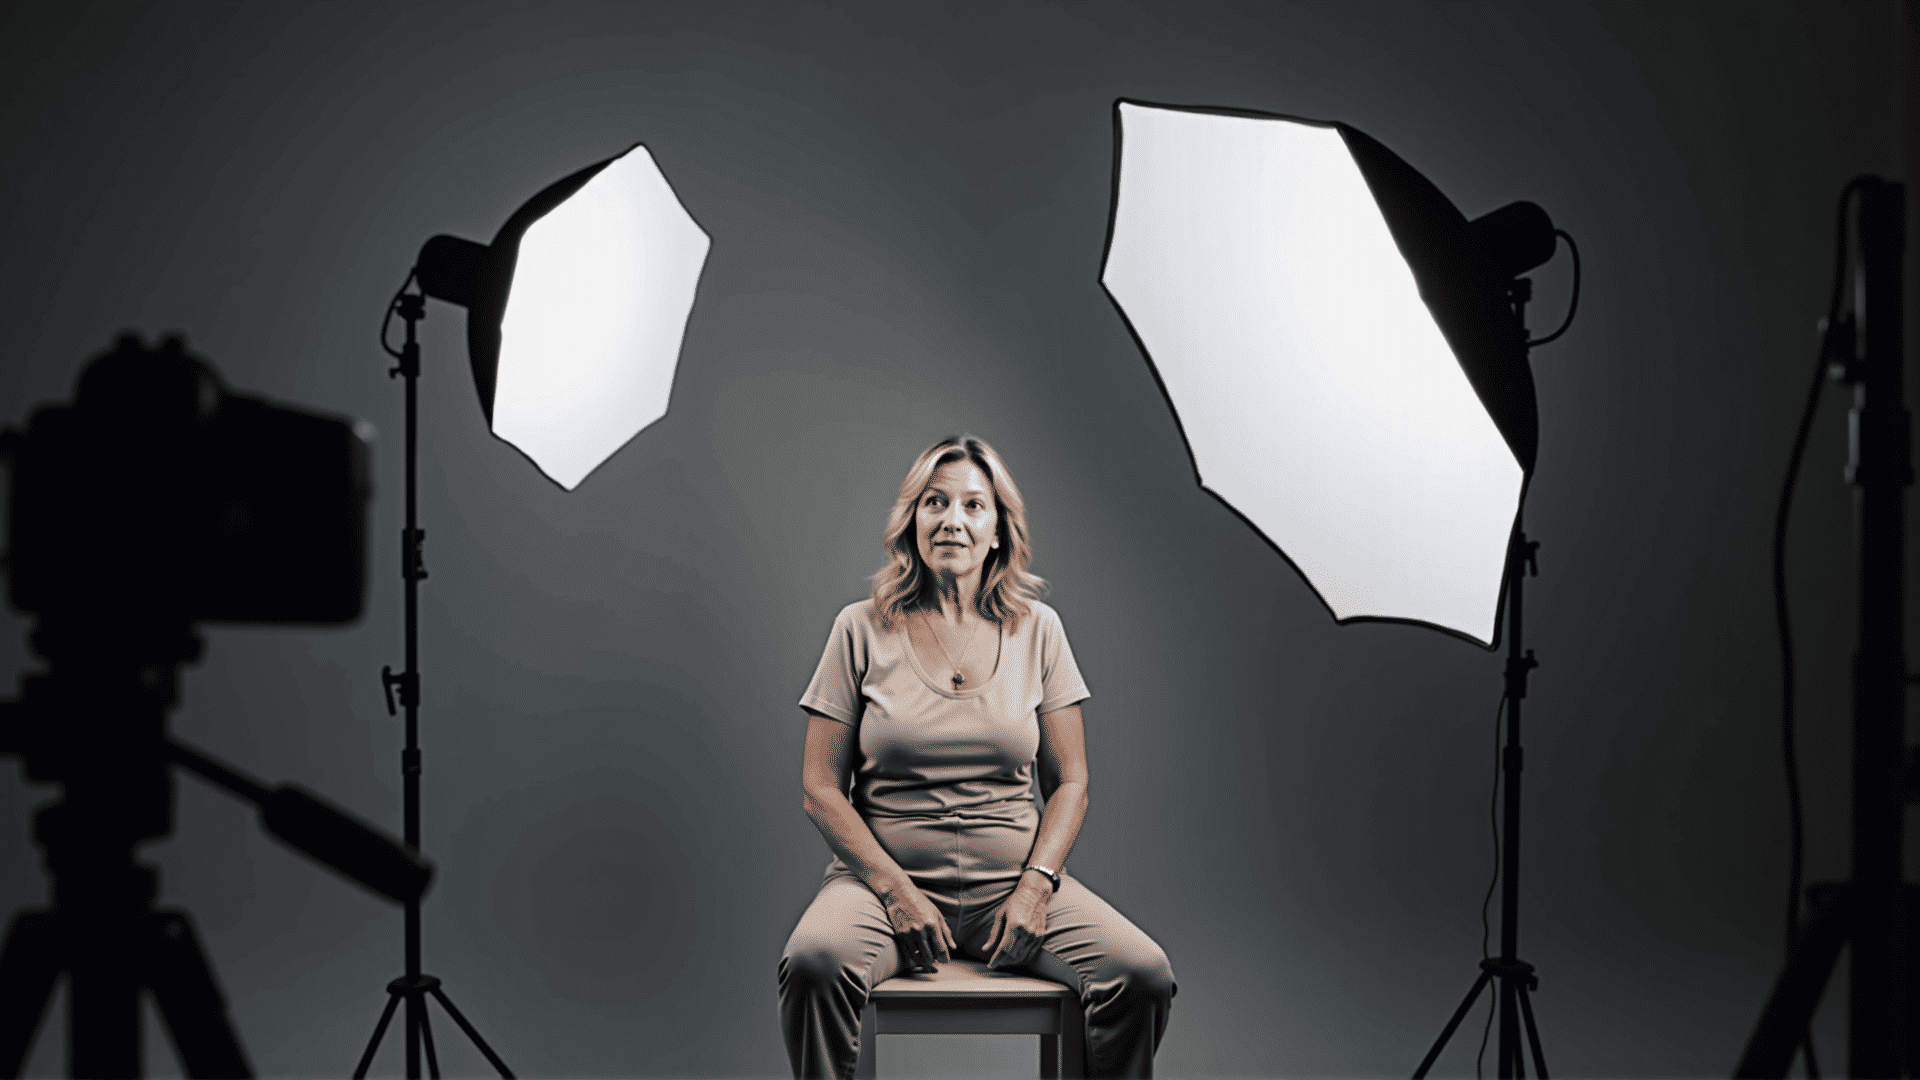
Studio Lighting: Control and Precision
For greater control over lighting conditions, studio setups offer the precision needed to shape and define your subject. A three-point lighting setup, which includes a key light, fill light, and backlight, allows you to create depth and separation from the background. The key light serves as the primary source and should be positioned at a 45-degree angle to the subject's face. The fill light softens shadows created by the key light, while the backlight adds dimension by highlighting the subject’s outline.
Off-Camera Flash: Flexibility and Creativity
Off-camera flash provides a versatile and portable solution for craftspeople on the go. By detaching the flash from your device, you can experiment with angles and intensities that would be difficult to achieve with on-camera flash. Use a softbox or umbrella to diffuse the light, creating a softer and more even illumination. This technique is especially effective for outdoor shoots where controlling natural light can be more challenging.
Dramatic Lighting: Playing with Shadows
For those looking to add a sense of drama to their work, playing with shadows can be highly effective. Low-key lighting, which utilizes a sparse lighting setup, focuses on strong contrasts. Positioning your light source at an angle can cast deep shadows, creating a mysterious and evocative image. Conversely, high-key lighting, with its brightly lit scenes and reduced contrast, can convey an airy and upbeat mood.
Color Gels: Adding a Splash of Color
Introducing color into your setup with gels can transform a standard portrait into something unique and vibrant. Wrapping gels over your light source allows you to add splashes of color that accentuate your composition or evoke specific emotions. Using complementary colors can add harmony, while contrasting colors can create tension and draw attention to particular areas.
Rembrandt Lighting: The Classic Approach
Named after the renowned Dutch painter, Rembrandt lighting is a technique that brings classic elegance to portraits. It is characterized by a small, triangular patch of light on the subject’s cheek, opposite the light source. Position the light source approximately 45 degrees to the side and above, aiming for the shadow of the nose to create a triangle that falls on the less illuminated cheek.
Broad and Short Lighting: Contouring for Effect
Broad lighting illuminates the side of the face nearest the camera, making it ideal for subjects with narrow faces who wish to appear wider. Short lighting, meanwhile, illuminates the side of the face turned away, adding depth and slimming round facial features.
Through the effective use of these lighting techniques, you can elevate your skills and create portraits that not only capture the likeness of your subject but also communicate the essence of their character and mood. By experimenting and integrating various lighting setups, you'll develop a signature style that resonates with viewers.